Pizza dough. A little daunting, especially to folks who don't bake a whole lot. Yes, you can order a pizza. Yes, you can buy a frozen one, or get pre-made dough. No, nothing beats home made, allowed to rise, pizza dough. Nothing.
This recipe will make one small, about 10in pizza perfect for two people. Or it makes a great personal pizza if you're really hungry. I have never tried doubling or tripling the recipe, but I don't think it would be hard or change much. This recipe has been adapted from
The Bread Bible.
This recipe calls for all-purpose flour, which is great news for most; no need to go out and get bread flour you'll rarely use. But you'll need rapid rise yeast. Fleischmann's makes rapid rise yeast in small envelopes, or you can use their bread machine yeast that comes in a jar. If you do use that, make sure it goes in the fridge after you open it!
Slight warning: This is kind of a day long recipe. The prep work takes about half an hour, and then an hour before you want to bake it. But I promise it's totally worth the effort!
3/4 cups of All Purpose Flour (King Arthur's Unbleached Flour or any other high quality flour)
1/2 tsp instant yeast (Fleischmann's Rapid Rise or Bread Machine yeast)
1/2 tsp sugar
1/2 tsp sea salt
1/3 liquid cup water at room temperature
4 tsps olive oil (Greek cold pressed extra virgin olive oil, you can use Italian or Spanish, but I think Greek has the best flavor)
Recommended equipment: Pizza pan and pizza/ baking stone
Whisk the flour, instant yeast and sugar together in a small/ medium bowl. Then whisk in the salt; this keeps the salt from killing the yeast.
Make a well in the flour and add the room temperature water. Then mix it together.
It should come away from the bowl, but still be a little sticky, a bit rough (not silky smooth,) Don't over mix, you don't want it to be super sticky.
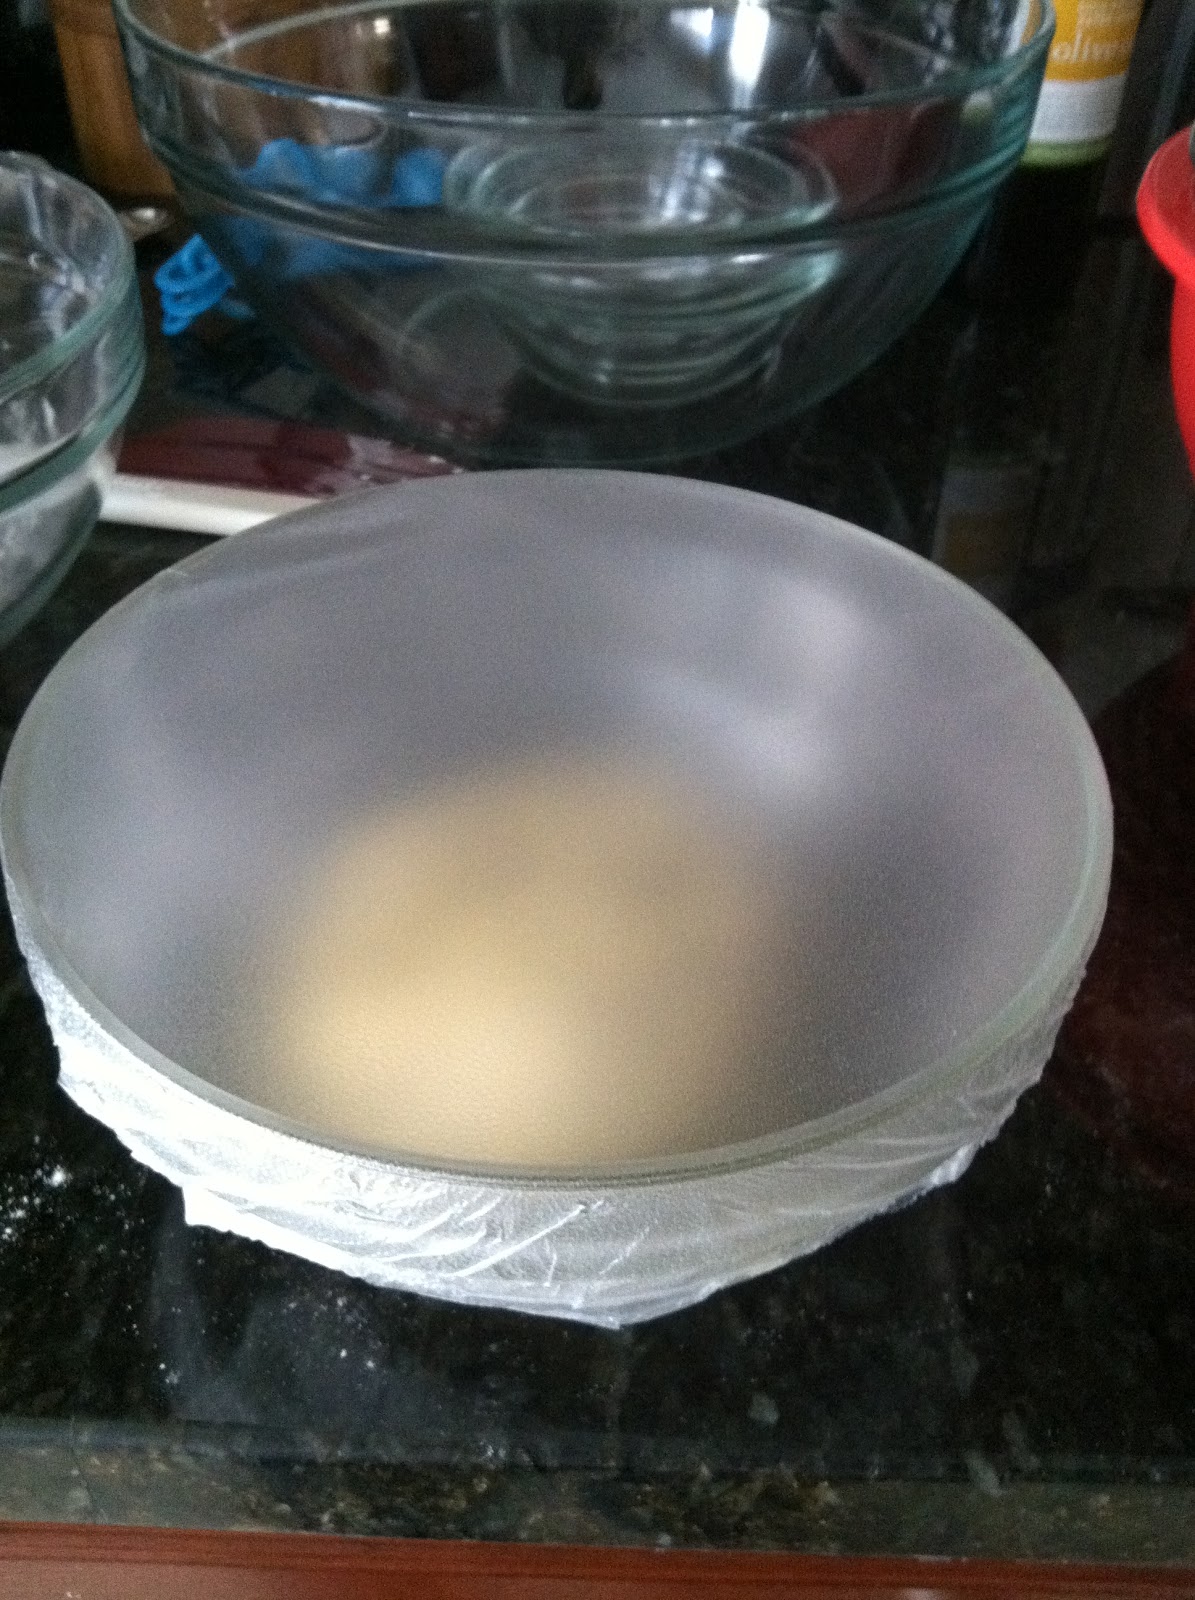
Pour the oil into a 2 cup measuring cup or a small bowl, oil your fingers or use an oiled spatula, and place the dough into the oiled bowl, turn it over to coat on all sides with the oil.
Cover tightly! If you want to use it soon, leave it at room temperature for an hour or until doubled; this does not include the hour where you prepare the pizza/ have the pizza stone heating up. If you are starting this in the morning, or the day before, leave it at room temperature for 30 minutes and then put it in the fridge.
I let mine sit in the fridge for about 6 hours.
Take the dough out an hour before you want to put the pizza in the oven. It will only need to be in the oven a total of about 10 minutes.
Preheat the oven to 475 degrees F, place your rack on the lowest level, and place the pizza stone on it. You want the pizza stone pre-heating along with the oven an hour before baking the pizza.
With oiled fingers, lift the dough out of the bowl and pour the remaining oil onto your pizza pan and spread it all over. Set the dough on the pan and press it down with your fingers to deflate it gently. Shape the dough into a small round by tucking the edges under. Let the dough rest, covered, for 15 minutes.
Take 2 TBS of olive oil,1ish TBS of garlic powder, 1 tsp of parsley, and mix together.
Using your fingertips, press the dough from the center to the outer edges to stretch it out into a 10in circle. Or use a heavy rolling pan to roll it out. Make sure you leave a thicker edge for a lip in about 1/2 an inch.
Brush the surface with garlic olive oil mixture.
Cover it with plastic wrap and allow to sit for 30 to 45 minutes, until it becomes light and puffy with air.
Set the pizza pan directly on your pizza stone, bake for 5 minutes.
Take out, add toppings.
Put back in the oven until crust is golden brown, cheese is bubbly, toppings are warm.
Enjoy!
Perfect Pizza Dough
Adapted from The Bread Bible by Rose Levy Berenbaum
Ingredients for dough:
3/4 cups of All Purpose Flour (King Arthur's Unbleached Flour or any other high quality flour)
1/2 tsp instant yeast (Fleischmann's Rapid Rise or Bread Machine yeast)
1/2 tsp sugar
1/2 tsp sea salt
1/3 liquid cup water at room temperature
4 tsps olive oil (Greek cold pressed extra virgin olive oil, you can use Italian or Spanish, but I think Greek has the best flavor)
Ingredients for garlic olive oil:
2 TBS olive oil
1 TBS garlic powder (or to taste)
1 tsp parsley
1.Whisk the flour, instant yeast and sugar together in a small/ medium bowl. Then whisk in the salt; this keeps the salt from killing the yeast.
2. Make a well in the flour and add the room temperature water. Then mix it together. It should come away from the bowl, but still be a little sticky, a bit rough (not silky smooth,) Don't over mix, you don't want it to be super sticky.
3. Pour the oil into a 2 cup measuring cup or a small bowl, oil your fingers or use an oiled spatula, and place the dough into the oiled bowl, turn it over to coat on all sides with the oil.
4. Cover tightly! If you want to use it soon, leave it at room temperature for an hour or until doubled; this does not include the hour where you prepare the pizza/ have the pizza stone heating up. If you are starting this in the morning, or the day before, leave it at room temperature for 30 minutes and then put it in the fridge.
5. Take the dough out an hour before you want to put the pizza in the oven. It will only need to be in the oven a total of about 10 minutes.
6. Preheat the oven to 475 degrees F, place your rack on the lowest level, and place the pizza stone on it. You want the pizza stone pre-heating along with the oven an hour before baking the pizza.
7. With oiled fingers, lift the dough out of the bowl and pour the remaining oil onto your pizza pan and spread it all over. Set the dough on the pan and press it down with your fingers to deflate it gently. Shape the dough into a small round by tucking the edges under. Let the dough rest, covered, for 15 minutes.
8. Mix ingredients of garlic olive oil together on tiny bowl/ mug.
9. Using your fingertips, press the dough from the center to the outer edges to stretch it out into a 10in circle. Or use a heavy rolling pan to roll it out. Make sure you leave a thicker edge for a lip in about 1/2 an inch.
10. Brush the surface with garlic olive oil mixture. Then cover it with plastic wrap and allow to sit for 30 to 45 minutes, until it becomes light and puffy with air.
11. Set the pizza pan directly on your pizza stone, bake for 5 minutes.
12. Take out, add toppings.
13. Put back in the oven until crust is golden brown, cheese is bubbly, toppings are warm.
Enjoy!